H o wD oIC o n n e c taF l o a tS w i t c ht oaS o l a rP u m p i n gM a c h i n e?
Data
Categoria
Produto
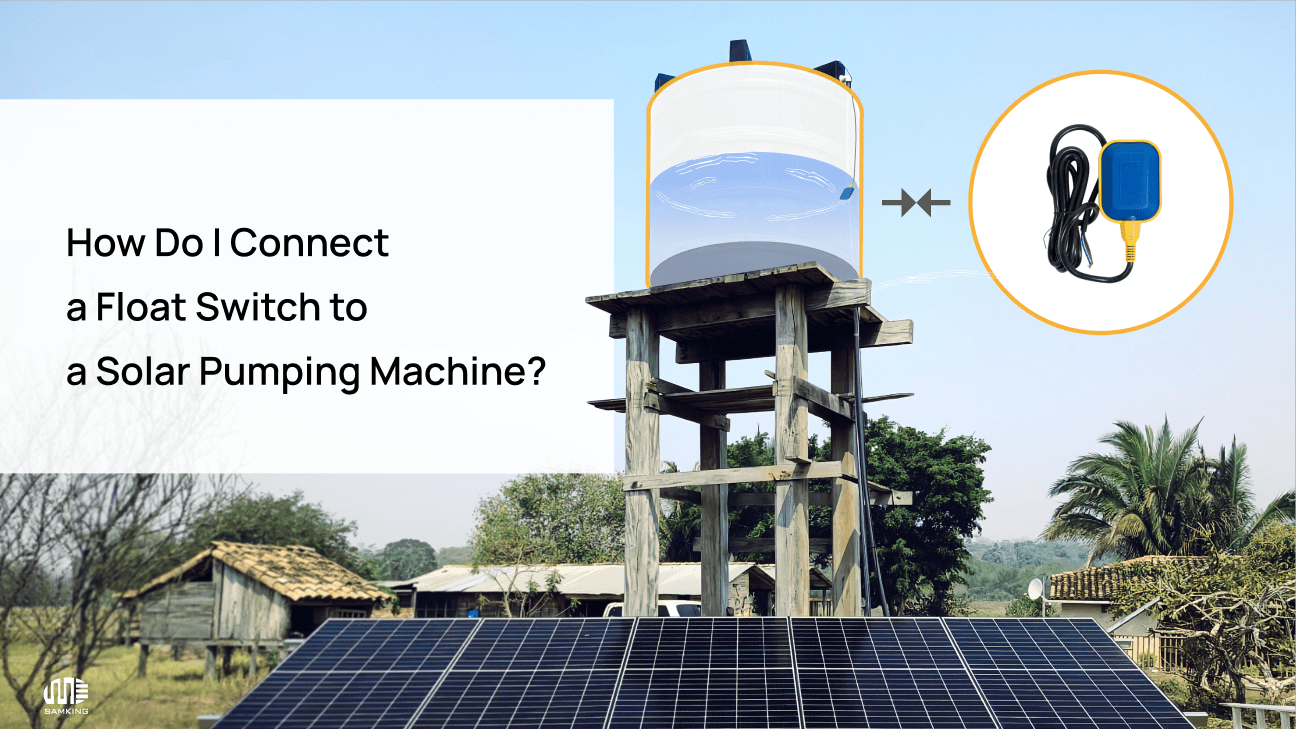
If you run an off-gridsolar pumping systemfor farm irrigation, domestic borehole water, or livestock watering, manual water level monitoring wastes hours of labor every week. Worse, unattended solar pumps face two costly failures: dry running motor burnout and tank overflow that wastes precious water and solar power.
A well-fitted float switch delivers fully automatic water level regulation, acting as a low-cost protective sensor for yoursubmersible solar pump. This hands-on guide shares field-tested wiring steps, component breakdown, troubleshooting tips, and pump matching advice—all built from thousands of real-world solar tank installations across rural Africa, Southeast Asia, and Australia.
1. What Is a Float Switch & Its Core Working Principle with Solar Pumps
A float switch is a buoyancy-driven liquid level sensor designed to send on/off electrical signals to your solar pump controller. It eliminates constant manual checking by automatically triggering pump operation based on preset high/low water levels inside storage tanks or boreholes.
Two Core Operating Cycles
Cycle 1: Pump Activation (Low Water Level)
When water is consumed for irrigation or household use, the water surface drops, pulling the float downwards. The fixed counterweight acts as a pivot point, tilting the float housing steeply. Inside the sealed float body, either a metal ball rolls or an internal magnet shifts, closing the low-voltage signal circuit. This signal travels along the waterproof cable to thesolar pumpcontroller, which energizes the brushless DC motor and starts pumping water. This configuration is called pump down float switch, the standard setup for tank filling systems.
Cycle 2: Pump Shutdown (High Water Level)
As the solar pump refills the tank, rising water lifts the float upward until the tether cable tightens against the counterweight. Further upward buoyancy tilts the float in the reverse direction, breaking the internal electrical circuit. The controller immediately cuts power to the pump to stop filling, preventing overflow and wasted solar energy.
2. Breakdown of All Float Switch Core Components & Two Internal Switch Mechanisms
Every complete tethered float switch assembly relies on three inseparable parts; poor quality in any single component shortens the whole system’s service life.
2.1 Sealed Float Body
The float body is the core sensing unit, usually molded from food-grade non-toxic polypropylene, making it safe for potable water tanks and resistant to UV weathering and mild chemical corrosion. Its fully sealed internal cavity houses the trigger mechanism, with a rated lifespan of over 100,000 switching cycles for entry-level models, and millions of cycles for premium magnetic reed versions.
2.2 Submersible Electrical Cable
The signal transmission line uses PVC or neoprene rubber outer jacketing to block water ingress, abrasion, and mineral corrosion from groundwater. Manufacturers set a maximum recommended cable length (5–20 meters) to avoid critical voltage drop that weakens signal delivery to the pump controller. Never extend the cable beyond the factory limit without signal amplifiers.
2.3 Adjustable Counterweight
The clamp-on counterweight fixes the pivot point of the float cable, controlling the tether length—the free wire segment between weight and float. This length directly defines your pump’s operating water range:
Short tether: Narrow water level gap, frequent pump start-stop cycling (accelerates motor wear)
Long tether: Wide water range, fewer daily pump cycles, extended pump service life
Adjust the counterweight position to balance water storage demand and motor protection.
2.4 Comparison: Rolling Ball vs Magnet-Activated Reed Switch
We compiled a field comparison table based on long-term installation data to help buyers select the right internal mechanism:
Recurso | Rolling Ball Mechanical Switch | Magnetic Reed Switch |
|---|---|---|
Trigger Design | Metal ball rolls to open/close circuit via gravity | Built-in magnet moves to activate sealed reed contact |
Cycle Lifespan | 100,000+ switching cycles | Millions of cycles, minimal moving parts |
Operation Noise | Audible "click" when triggering | Fully silent underwater operation |
Best Application | General clean water tanks, livestock watering | Precision control, corrosive groundwater, long-term unattended systems |
3. Complete Step-by-Step Float Switch Installation & Wiring Process
Safety is the top priority for allDC solar pumpelectrical work—even low-voltage 24V/48V BLDC systems carry shock risks in wet tank environments. Follow this 5-stage field installation workflow:
Step 1: Full Power Disconnection (Non-Negotiable Safety Step)
Cut all power inputs to the solar pump controller:
Disconnect solar panel wiring terminals from the controller unit
If you own a hybrid battery backup solar pump system, disconnect battery terminals as well
Double-check no power flows to the controller before touching any wiring
Step 2: Mark Target Water Levels & Calculate Ideal Tether Length
Set two fixed water thresholds inside your storage tank to avoid equipment damage and overflow:
High shut-off level: Minimum 15cm below the tank overflow outlet to reserve a safety buffer
Low turn-on level: Sufficiently high to keep your pump intake fully submerged, eliminating dry running risk
Measure the vertical distance between these two marks—this value equals your required tether length for the float switch cable.
Step 3: Mount Float Assembly & Secure Counterweight
Slide the counterweight along the submersible cable and lock it at your calculated tether length
Fasten the main cable’s top end to the tank inlet pipe or tank wall with waterproof stainless steel zip ties
Confirm the float has unobstructed vertical swing space; ensure it cannot catch on pipes, pump bodies, or tank internal frames during water level fluctuations
Step 4: Wire Float Switch to Solar Pump Controller (Recommended Method)
ModernBLDC solar pumpcontrollers include dedicated signal terminals labeled TH (Tank High) and COM (Common) for float switch integration, this wiring method is far safer than direct pump line splicing:
Strip 5–8mm of insulation from the two signal wires of the float cable
Route the cable through the controller’s waterproof wiring gland to stop moisture seepage
Insert stripped wires into matching TH and COM terminals, tighten terminal screws firmly to avoid loose connections
Refer to your controller user manual for terminal layout confirmation
Only use a waterproof splicing kit if you must hardwire the float switch directly to pump power lines (rare for standard solar pumping setups).
Step 5: System Test & Fine-Tune Counterweight Position
Reconnect solar panels and battery power sources
Simulate tank filling: Add water slowly and record the exact water level where the float tilts upward to cut pump power
Simulate water consumption: Drain tank water and note the low level that triggers pump startup
Adjust counterweight up/down 2–3 times to align trigger points with your pre-marked high/low water levels before final locking
4. Major Benefits of Adding a Float Switch to Your Solar Pump Setup
Many off-grid operators view float switches as optional accessories, but our field data proves they are an indispensable investment that cuts long-term maintenance costs dramatically.
4.1 Full Automation Cuts Manual Labor
Remote farms, rural domestic wells, and large irrigation systems no longer require daily level checks or manual pump switching. The float switch runs 24/7 unattended, freeing staff for other farm or household tasks. For sites hundreds of meters from the water tank, this alone saves 3–5 hours of weekly labor.
4.2 Ultimate Dry Run Pump Protection
Dry running is the top cause of submersible solar pump failure. Without water to cool and lubricate the motor, internal components melt and seize within minutes—replacement costs often reach 80–90% of a brand-new pump. A properly installed float switch instantly cuts power at low water levels to eliminate this risk entirely, extending pump lifespan by over 50%.
4.3 Water & Solar Energy Conservation
Uncontrolled solar pumps run nonstop under strong sunlight, spilling thousands of liters of water via tank overflow and wasting the solar power generated by your PV panels. Float switches stop pumping the second the tank reaches capacity, boosting daily usable water output by up to 30% on low-sunlight days with limited solar panel capacity.
4.4 Reduced Motor Wear for Longer System Lifespan
Every pump startup creates high electrical and mechanical stress on motor bearings, shaft seals, and windings. By adjusting the tether length to widen the pump’s operating range, you cut daily start-stop cycles drastically. Well-regulated solar pumps extend service life from a typical 5–7 years to over 10 years.
5. Match Your Float Switch to The Right Type of BLDC Solar Pump
Float switches are universally compatible with all brushless DC solar pumps, but pairing the correct pump model with your water demand maximizes overall system efficiency.
5.1 Screw Progressive Cavity Pumps (Deep Well Domestic Water)
Screw solar pumps deliver high lift head over 150 meters for deep boreholes, with low flow rates (1–5 m³/h). Their stainless steel rotor resists sand and silt far better than centrifugal models, ideal for rural domestic water and livestock watering in regions with deep wells. Pair with magnetic reed float switches for long-term unattended deep well tank control.
5.2 Multi-Stage Centrifugal Pumps (High-Volume Irrigation)
Centrifugal solar pumps generate large water flow for farm irrigation and large livestock herds, with medium lift head. Cost-effective and lightweight, they work best for surface storage tank filling. Rolling ball float switches offer reliable low-cost control for agricultural irrigation tank systems.
5.3 Stainless Steel Corrosion-Resistant Solar Pumps
Groundwater in coastal zones or alkaline soil areas carries corrosive mineral content that damages standard pump castings. SS304 stainless steel pump bodies and impellers resist chemical erosion, suited for premium residential, commercial, and coastal water supply projects. Match with fully PP corrosion-proof float bodies for complete anti-corrosion system protection.
Core Power: High-Efficiency BLDC Permanent Magnet Motors
All modern solar pumps rely on brushless DC motors with over 90% energy efficiency (vs 60–70% for old brushed motors). Zero wearable carbon brushes reduce maintenance, while compact size simplifies tank and borehole installation. A float switch unlocks the full energy-saving potential of BLDC motors by eliminating unnecessary idle operation.
6. Common Float Switch Failures & Quick Troubleshooting
After thousands of service calls, we sorted the most frequent float switch malfunctions and fast fixes:
Float stuck on "ON" position: Pump runs nonstop, tank overflows
Fix: Clear pipe/tank obstructions blocking float swing; reposition counterweight to avoid cable tangling
Float stuck on "OFF" position: Pump never activates, zero water supply
Fix: Inspect cable kinks; check for sediment weighing down the float body
Slow or unstable pump triggering: Voltage drop signal loss
Fix: Shorten excess float cable; avoid exceeding manufacturer maximum wire length
No signal sent to controller: Internal switch failure
Fix: Float housings are permanently sealed for waterproofing—failed units require full replacement (low-cost spare parts)
7. Frequently Asked Questions About Solar Pump Float Switches
Q1: Can I manually bypass the float switch for testing?
A1: Yes. Most solar pump controllers include a manual override mode to bypass the float signal for maintenance testing. You can also manually lift or submerge the float to simulate high/low water levels and verify pump response.
Q2: How many years does a quality float switch last?
A2: Premium magnetic reed float switches exceed 10 years of continuous underwater use, rated for millions of trigger cycles. Budget rolling ball models deliver 5–8 years of service with regular tank sediment cleaning.
Q3: Does a float switch consume large amounts of electricity?
A3: No. The float only transmits a tiny low-voltage signal to the controller; its power draw is negligible and does not impact solar panel power output or battery storage capacity.
Q4: What’s the difference between pump up and pump down float switches?
A4: Pump down switches activate the pump when the float sinks (standard tank filling). Pump up switches trigger pumping when the float rises, designed for sump pit drainage systems. Nearly all solar water storage tank projects use pump down configuration.
Q5: Do I need two separate float switches for my borehole and storage tank?
A5: Yes, for full dual protection. A low-level float switch installed in the borehole prevents dry running of the submersible pump, while a tank-mounted float switch stops overflow. Most multi-signal solar pump controllers support dual float switch input.
Q6: How far can the float switch be mounted from the pump controller?
A6: Restrict cable length within the manufacturer’s stated maximum to avoid signal voltage drop. For long-distance tank installations, select float switches with thicker gauge submersible signal cables.
Q7: Can damaged float switches be repaired?
A7: Float bodies are hermetically sealed to block water penetration, so internal switch components cannot be repaired. Damaged units must be fully replaced, though float switches are low-cost consumable accessories.
Final Conclusion
Integrating a float switch into your solar pump system is a low-cost, high-return upgrade for every off-grid water project. It delivers hands-free automatic water level management, protects your expensive BLDC pump from dry running damage, cuts water and solar power waste, and extends the total service life of your pumping equipment by years.
Follow the step-by-step wiring and mounting guide above, match your float switch mechanism to your pump type and water quality, and conduct thorough post-install testing to build a fully reliable, maintenance-light solar water supply system.
Modelos Relevantes

4SPN5-15
Bomba de água submersível solar de 3000 W/4,02 HP e 1,5 polegada para irrigação rural

3SPN1-14P
Bomba submersível solar CA/CC de 20 a 120 m de altura para poço profundo

3SPN2-11
Bomba d'água solar submersível automática de 1200 W / 1,61 HP e 1,25 polegadas para irrigação
4spn1-16p
Bomba submersível centrífuga de 2 polegadas, 1800 W/2,41 HP, CC, para irrigação de gado no Zimbábue
Mais notícias
diretamente para


368 Yusheng Rd, cidade de Jiulong, distrito de Hailing, cidade de Taizhou,
Província de Jiangsu, China
Telefone: +(86) 187-0218-1182